

Fixing the Shift: How Unilateral Strength Cleans Up Your Barbell Numbers
Why That Minor Barbell Shift Is Wrecking Your Progress
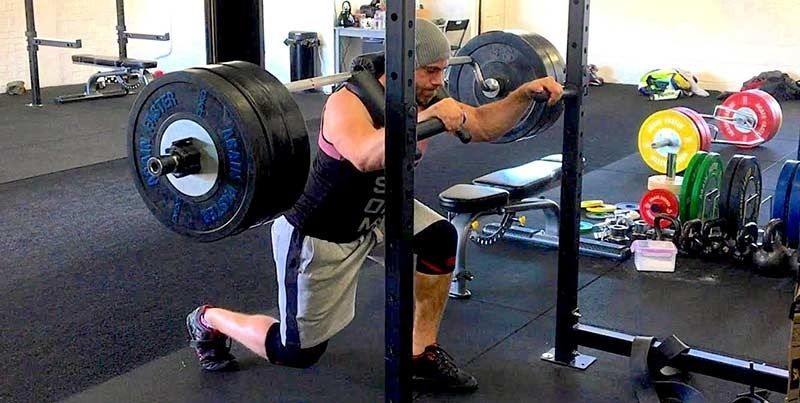
A heavy squat or deadlift rarely fails without warning. Often, the first sign is a subtle hip shift at the bottom of a squat, a bar that drifts toward one side during a deadlift, or a torso that rotates just enough to make one shoulder lead the pull. The movement may look acceptable at moderate weight, then unravel as load, fatigue, or range of motion increases. That is not simply a cosmetic flaw. It is information about how force is being distributed, a point reinforced by an Authoritative Source.
When one hip, ankle, or trunk side cannot contribute effectively, the body finds another route. Torque may be transferred into the lumbar discs, sacroiliac joints, or hip labrums while the stronger limb takes over the work. A small, consistent shift without pain may reflect individual anatomy and may not require correction, but a shift that worsens with load or fatigue deserves investigation. Unilateral strength work is not lightweight rehabilitation. Applied with intent, it is an aggressive way to expose weak links, rebuild control, and give your bilateral lifts a stronger foundation.
The Anatomy of Bilateral Compensation Under Load
Bilateral exercises can hide meaningful differences between limbs because both legs contribute to the same task. The bar still rises, the repetition still counts, and the stronger side can quietly absorb work that the weaker side cannot produce. This compensation may remain invisible until a sticking point, a heavier attempt, or accumulated fatigue removes the margin for error.
Common drivers include inhibited gluteus maximus recruitment, restricted ankle dorsiflexion, hip mobility differences, pain avoidance, and poor pelvic control. A lifter with limited ankle motion on one side may shift the pelvis to find depth. A lifter with a painful or impinged hip may rotate away from the uncomfortable position. A dormant glute may force the hamstrings, adductors, or spinal erectors to create extension that should be shared by the posterior chain.
The gluteus maximus contributes to hip extension, external rotation, pelvic control, trunk positioning, joint stability, and force production. A detailed clinical commentary on gluteus maximus weakness explains that movement can continue despite poor glute function, but compensation can alter coordination and increase mechanical stress. The practical point is simple: do not label every shift as weakness, and do not assume every weak-looking side needs more weight. Assess range of motion, pain, timing, and control before prescribing more intensity.
- Check whether the shift appears only near maximal loads or also during warm-up sets.
- Compare ankle dorsiflexion, hip rotation, and single-leg balance from side to side.
- Watch whether the pelvis stays level during step-downs, split squats, and single-leg hinges.
- Reduce load or range of motion if compensation appears before the intended muscles can do their job.
The Diagnostic Trio to Clean Up Your Pattern
The goal of the following three movements is not to imitate a competition squat or deadlift with lighter equipment. Each exercise isolates a specific demand that bilateral lifting can conceal. Use controlled tempo, honest range of motion, and loads that allow the pelvis, knee, and trunk to remain organized.
- Bulgarian split squat. Set the rear foot on a low bench and place the front foot far enough forward to allow a full, controlled descent. Keep the front knee tracking over the middle toes, maintain a level pelvis, and avoid collapsing toward the stronger side. The movement reveals knee control, quadriceps dominance, hip stability, and pelvic tilt. Begin with body weight or light dumbbells, then add load only when both sides show comparable depth and tempo.
- Single-leg Romanian deadlift. Stand tall, brace the trunk, and hinge from the hip while the free leg reaches backward. The pelvis should stay square rather than opening toward the ceiling. Hold the load on the stance-leg side to emphasize ipsilateral hinge mechanics, or use contralateral loading when the priority is greater hip and trunk stabilization. Research on single-leg Romanian deadlift variations found high gluteus maximus and biceps femoris activation, with contralateral loading increasing demands on the gluteus medius and trunk stabilizers. Move well before moving fast.
- Single-arm suitcase carry. Hold a kettlebell or dumbbell in one hand and walk while resisting side bending and rotation. Keep the ribs stacked over the pelvis, shoulders level, and steps quiet. This trains anti-lateral flexion while teaching the trunk to transfer force without twisting. If the torso leans immediately, the load is too heavy or the distance is too long. Anti-rotation training principles are also addressed in this authoritative review of trunk stability demands.
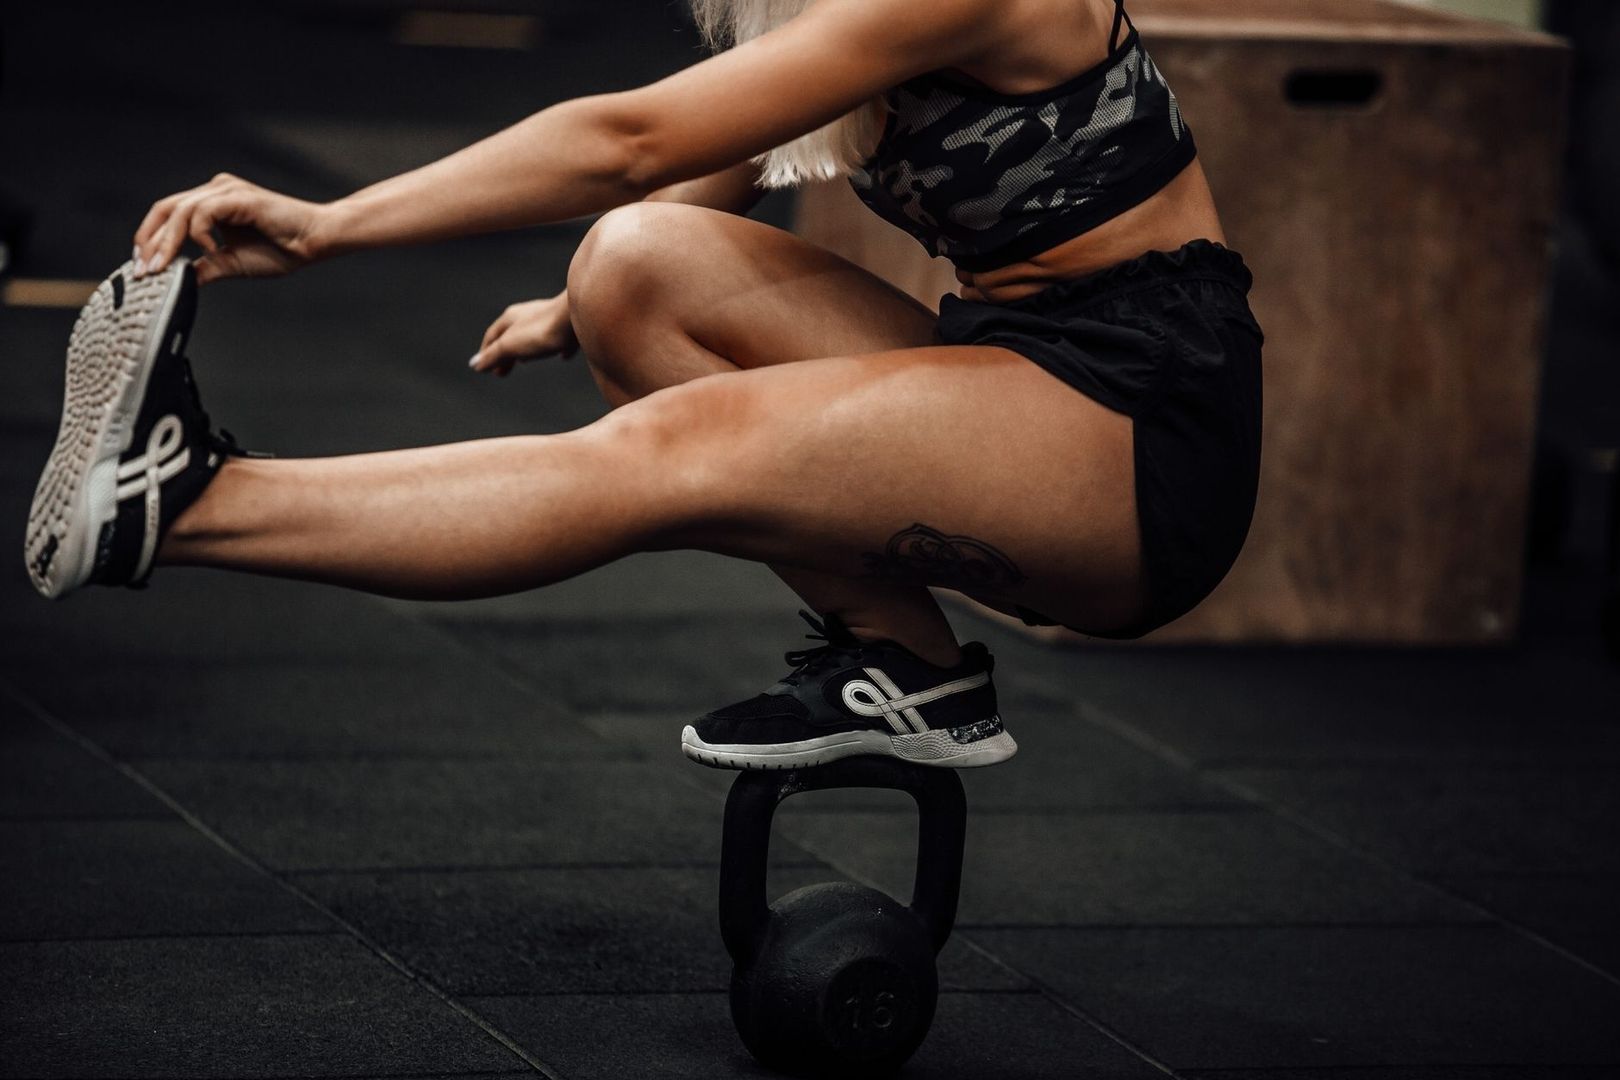
These drills should feel demanding without becoming sloppy. A split squat that turns into a pelvic rotation, a Romanian deadlift that becomes a reach toward the floor, or a carry that produces a visible side bend is no longer diagnosing the target limitation. End the set when alignment fails. Quality is not a softer version of training; it is the method that makes heavier training possible later.
Unilateral Versus Bilateral Loading Dynamics
Bilateral lifts remain essential for maximal squat and deadlift strength because they allow high external loading and closely match the competitive task. Unilateral exercises add a different stimulus. They increase the stability demand of the stance leg, reduce the ability of one limb to hide behind the other, and challenge the trunk to manage rotation and lateral flexion. Neither category replaces the other. The strongest program uses each for the adaptation it can produce best.
| Training feature | Bilateral loading | Unilateral loading |
|---|---|---|
| Primary strength expression | High absolute force in a shared base | Independent limb force and control |
| Stability demand | Lower side-to-side challenge, higher total load | Greater hip, ankle, pelvic, and trunk control |
| Compensation risk | Stronger side can conceal weaker side | Each side must manage its own work |
| Spinal demand | Often greater absolute axial and compressive loading | Usually lower total load, with greater anti-rotation demands |
| Best use | Building bilateral maximal strength | Exposing deficits and improving single-limb capacity |
Evidence supports specificity rather than simplistic claims that one approach always wins. A systematic review and meta-analysis found that bilateral training offered a small advantage for bilateral strength, while unilateral training had a large advantage for unilateral jump performance. Another meta-analysis reported benefits from unilateral training across several athletic qualities, although outcome significance varied between measures. Clinical and performance reviews consistently demonstrate that unilateral training can transfer to bilateral force production when programmed systematically, especially when it reduces a clear limb deficit rather than replacing heavy bilateral practice.
A 10-week proof-of-concept study in university basketball players provides a useful model. The unilateral group assigned greater volume to the non-dominant leg, reduced single-leg jump asymmetries, improved isometric pulling measures, and outperformed the control group on several jump and squat outcomes. The study does not prove that every powerlifter should overload the weaker side indefinitely. It does show why targeted unilateral compounds can clean up asymmetry while supporting broader performance.
A Coach-Led Accessory Integration Framework
Accessory work should support the primary lift, not sabotage it. Place the most technical unilateral exercise after the main squat or deadlift, when the athlete is warm but not exhausted. Use two or three movements per lower-body session, generally for two to four sets. Moderate rep ranges work well because they provide enough practice without turning every accessory into a fatigue contest.
- Bulgarian split squat: 3 sets of 6 to 10 repetitions per side, using a two- to three-second descent.
- Single-leg Romanian deadlift: 2 to 4 sets of 6 to 8 repetitions per side, with a brief pause near the end of the hinge.
- Suitcase carry: 3 to 5 carries of 20 to 40 meters per side, maintaining a level torso.
- Loading rule: match the weaker side rather than letting the stronger side dictate the weight or repetitions.
A practical four-week progression begins with control. During week one, use body weight or light external loading and record depth, balance, and trunk position. In week two, add repetitions or a small load increase while preserving the same tempo. In week three, progress the weaker side with one additional set only if technique remains equal; do not turn the difference into reckless volume. In week four, reduce accessory volume by roughly one-third while using slightly heavier, crisp repetitions, then reassess the bilateral squat and deadlift pattern.
Use contralateral and ipsilateral loading for different reasons. Ipsilateral loading can reinforce the relationship between the stance leg and same-side hip musculature during a hinge. Contralateral loading often increases the demand on the gluteus medius, obliques, and erector spinae as the body resists rotation. Neither is automatically superior. Choose the variation that exposes the specific fault, then progress it slowly enough that the nervous system learns the desired strategy.
Self-coaching requires objective cues. Film the final repetitions from the front and side, compare bar path, and note whether the pelvis shifts before the sticking point. Ask whether pressure stays distributed through the entire foot, whether the knee tracks over the toes, and whether the ribs remain stacked over the pelvis. If pain, pinching, numbness, or a rapidly worsening shift appears, stop treating the issue as a simple strength imbalance and seek qualified clinical assessment. Confidence is earned through preparation, not by forcing a pattern that the body cannot control.
Build Unshakable Symmetry and Own Your Platform Numbers
Balanced limbs do more than improve appearance. They distribute force across the hips, knees, ankles, pelvis, and trunk so that heavy repetitions rely less on passive structures and more on active muscular control. That supports joint longevity, cleaner technique, and a more repeatable expression of strength. A bilateral lift can remain the centerpiece while unilateral work removes the compensation that has been limiting it.
At the next lower-body session, film a moderate squat set and a moderate deadlift set from the front. Identify the first point where the pelvis or bar begins to drift, then perform two controlled sets of split squats, two sets of single-leg Romanian deadlifts, and three short suitcase carries per side. Keep the load conservative, match the weaker side, and repeat the same assessment four weeks later. Train with purpose, move well before moving fast, and let consistency beat random intensity.


Fixing the Early Pull: How Proper Stroke Sequencing Unlocks Real Rowing Power
The Invisible Power Leak on the Ergometer
The Concept2 can expose every weakness in a rowing stroke. When the handle feels heavy from the first inch, the biceps burn before the legs are challenged, and the split refuses to improve, the problem is often not a lack of effort. It is a timing error. Many athletes attack the handle with the arms before the lower body has finished creating momentum, turning a full-body power movement into an exhausting upper-body pull.
The early arm bend is the main leak. It shortens the stroke, pulls the shoulders out of position, and asks small muscles to do work that belongs to the legs and hips. The fix is not simply to pull harder or raise the stroke rate. It is to learn a patient sequence in which the hands stay connected to the flywheel through long, relaxed arms. That shift from raw exertion to deliberate mechanics is how faster splits become repeatable rather than accidental.

Anatomy of the Drive and Why Arms Bend Too Soon
A rowing stroke is a kinetic chain. The legs initiate the drive, the hips and trunk transfer force, and the arms finish the movement. A commonly used coaching model assigns roughly 60 percent of force to the legs, 30 percent to the core and torso, and 10 percent to the arms. These numbers are useful as a performance framework, not as a laboratory rule for every athlete. The message is clear: the arms complete the stroke, but they should not dominate it.
At the catch, the arms should be long, the shoulders relaxed, the torso hinged slightly forward from the hips, and the shins close to vertical. When the legs press against the footplates, the handle becomes a connection point. Straight arms allow the powerful quadriceps, glutes, and hip extensors to accelerate the body and flywheel together. The athlete is not trying to yank the handle toward the chest. The athlete is pushing the machine away with the legs while maintaining a stable link through the shoulders and trunk.
Early arm bend breaks that connection. The elbows flex before the legs have expressed their force, the shoulders often round, and the lats lose their ability to stabilize the upper body. The athlete may see a fast burst on the monitor, but those are unsustainable watts. The stroke feels busy rather than powerful, and the split commonly rises as fatigue accumulates. The Concept2 technique guide reinforces the essential order: legs first, body swing second, and arm draw last.
- Arm bend at the catch: the biceps take over before the legs create momentum.
- Shoulder elevation: tension travels into the neck and upper traps instead of staying organized through the trunk.
- Collapsed torso: the athlete loses a stable platform for transferring force from the hips.
- Shortened finish: the handle reaches the body early, reducing useful length and rhythm.
- Rising split time: more effort produces less flywheel acceleration because force is applied in the wrong sequence.
Mastering the Sequential Rhythm of Drive and Recovery
The drive should feel like a wave moving from the feet to the handle. The lower body starts the movement, the torso follows, and the arms close the sequence. This is not a series of disconnected actions. Each phase should flow into the next without a pause or a sudden tug. Keep the hands light, maintain a firm but neutral trunk, and allow the handle to travel in a straight path toward the lower ribs.
- Extend the legs first. Push firmly through the footplates while keeping the arms straight and the torso controlled. The hips and shoulders should travel together during the early leg drive.
- Swing the hips second. Once the legs are close to extended, pivot the torso from the hips into a slight backward lean. Avoid leaning excessively, which adds motion without useful force.
- Draw the handle third. Finish by bending the elbows and bringing the handle toward the sternum or lower ribs. Keep the wrists flat and the elbows moving behind the body without shrugging.
The recovery reverses the sequence. Send the hands away first, then hinge the torso forward, and only then allow the knees to bend and the seat to roll toward the flywheel. This order gives the flywheel time to carry momentum and creates a controlled setup for the next catch. Recovery is not dead time. It is the phase that determines whether the next drive begins in a strong position or under pressure.
- Arms away: extend the elbows fully and move the handle forward with relaxed shoulders.
- Body over: hinge forward from the hips while keeping the back organized and the head neutral.
- Slide to the catch: bend the knees after the hands and torso have cleared them, then roll forward under control.
A common mistake occurs when the knees rise before the handle has passed them. The handle then collides with the knees or must travel upward to avoid them, disrupting the stroke path. This rushed recovery shortens the effective drive and forces the athlete to catch in a compressed position. Slow the recovery down, especially the final third of the slide. A useful rhythm is a quick, committed drive followed by a longer, quieter recovery. Technique improves when the body has enough time to organize.
Demystifying Damper Settings and Drag Factor
Damper 10 is not a badge of honor, and it does not automatically produce a better workout. On a Concept2, the damper controls how much air enters the fan cage. A higher setting makes the flywheel feel heavier and causes it to slow more rapidly during recovery. A lower setting lets the flywheel spin more freely. The damper changes the feel of the machine, similar to changing gears on a bicycle, but it does not directly prescribe the intensity of the effort.
Intensity comes from how forcefully the athlete accelerates the flywheel. Faster flywheel acceleration creates greater wind resistance, which means the legs, hips, and trunk remain the primary sources of meaningful power. A high damper can be appropriate for certain strength-focused efforts, but it can also expose poor positioning, encourage early arm tension, and fatigue the posterior chain or lower back prematurely. The Concept2 damper guidance recommends beginning around settings 3 to 5, then adjusting based on technique, workout duration, and individual characteristics.
| Athlete or training goal | Practical starting approach | Primary focus |
|---|---|---|
| Lightweight or highly aerobic athlete | Lower to moderate drag, often around 90 to 115 | Efficient rhythm and sustainable power |
| Heavyweight or powerful athlete | Moderate drag, often around 110 to 135 | Strong leg drive without excessive fatigue |
| Everyday fitness athlete | Moderate drag, commonly around 100 to 125 | Stable technique and repeatable pacing |
These drag factor ranges are starting points, not universal prescriptions. Machine condition, temperature, elevation, and accumulated lint can change the measured drag. Use the monitor rather than relying only on the damper lever, and choose a setting that allows the athlete to maintain a neutral spine, connected legs, and relaxed arms. If the back tightens early or the stroke becomes slow and forced, reduce the drag before assuming more toughness is required.
Targeted Drills to Eliminate the Arm Bend
Drills work because they reduce the number of moving parts. The goal is not to perform a drill as a separate exercise forever. The goal is to isolate the correct sensation, then carry it into normal rowing. Start each drill at an easy pace. Quality repetitions build a better motor pattern than fatigued repetitions performed with the same old error.
- Reverse pick drill: begin with legs-only rowing. Keep the torso steady and the arms completely straight while driving from the footplates. Add the body swing only after the legs are moving well, then add the arm draw last. This sequence teaches the hands to remain passive during the strongest part of the drive.
- Feet-unstrapped rowing: loosen or remove the foot straps and row at low intensity. The athlete must maintain balance through the trunk rather than leaning backward and over-pulling at the finish. Keep the stroke compact, controlled, and quiet.
- Pause rowing: pause briefly at the finish or at the body-over position. Check that the arms are long before the knees begin to bend, then resume the recovery slowly.
- Leg-only repetitions: use short sets to reinforce pressure through the legs without allowing the shoulders to chase the handle.
Pair these drills with a low stroke rate of 18 to 22 strokes per minute. The slower cadence creates enough time to feel the sequence and apply force deliberately. It also exposes whether the athlete can produce a strong split without frantic hand speed. This is strength-focused rowing, not casual recovery work. Drive hard from the legs, stay connected through the core, and let the recovery remain controlled.
Stroke rate should serve the workout rather than replace good mechanics. A faster rate can improve performance only when the stroke length, force, and sequencing remain intact. If the rate rises but the split does not improve, the athlete is probably spinning the handle rather than accelerating the flywheel. Practice several rounds of 10 to 15 strokes at 18 to 22 spm, rest with easy rowing, and gradually transfer the same feeling to moderate rates. Move well before moving fast.
Own the Drive to Transform Your Splits
The essential psychological shift is simple: treat the handle as a tether, not a pull-cable. The legs and hips create the main acceleration. The straight arms transmit it. The body swing adds force, and the arms finish the stroke with precision. When the handle is attacked too early, the athlete fights the machine. When the sequence is patient, the machine responds to organized power.
Use a 500-meter technique warm-up before high-intensity erg work. Row 100 meters with legs only, 100 meters with legs and body, 100 meters with full strokes at 18 to 20 spm, 100 meters at 20 to 22 spm with a controlled recovery, and finish with 100 meters at the planned workout rate. Keep the first 400 meters smooth and use the final 100 meters to increase pressure without sacrificing order. This short preparation reinforces the pattern before fatigue makes old habits tempting. Prioritize efficient strokes, disciplined cadence, and leg-driven power. Consistency beats random intensity, and confidence is earned through preparation.
Before You Kip: Why Strict Strength Protects Your Shoulders and How to Build It
The True Cost of Skipping Your Gymnastic Foundations
High-intensity fitness rewards visible progress. More reps, faster times, and unbroken sets create an easy scoreboard, so athletes often rush toward kipping pull-ups before earning the strength and control required to use them well. The bar becomes a target, the clock becomes the judge, and strict work gets treated as a slower version of the “real” movement. That approach builds performance on a weak foundation.
Kipping is not simply an easier way to get the chin over the bar. It is an advanced technique that uses coordinated momentum to multiply power and increase repetition speed. That power travels through the hands, elbows, shoulder complex, trunk, and hips. Without strict pulling strength, active scapular control, and a reliable midline, the shoulder is forced to absorb forces it cannot consistently manage. Athletes who want durable gymnastics should master strict movement first, then add speed as a skill. Move well before moving fast, because confidence is earned through preparation.
The Biomechanics of the Kip and Why Tendons Bear the Brunt
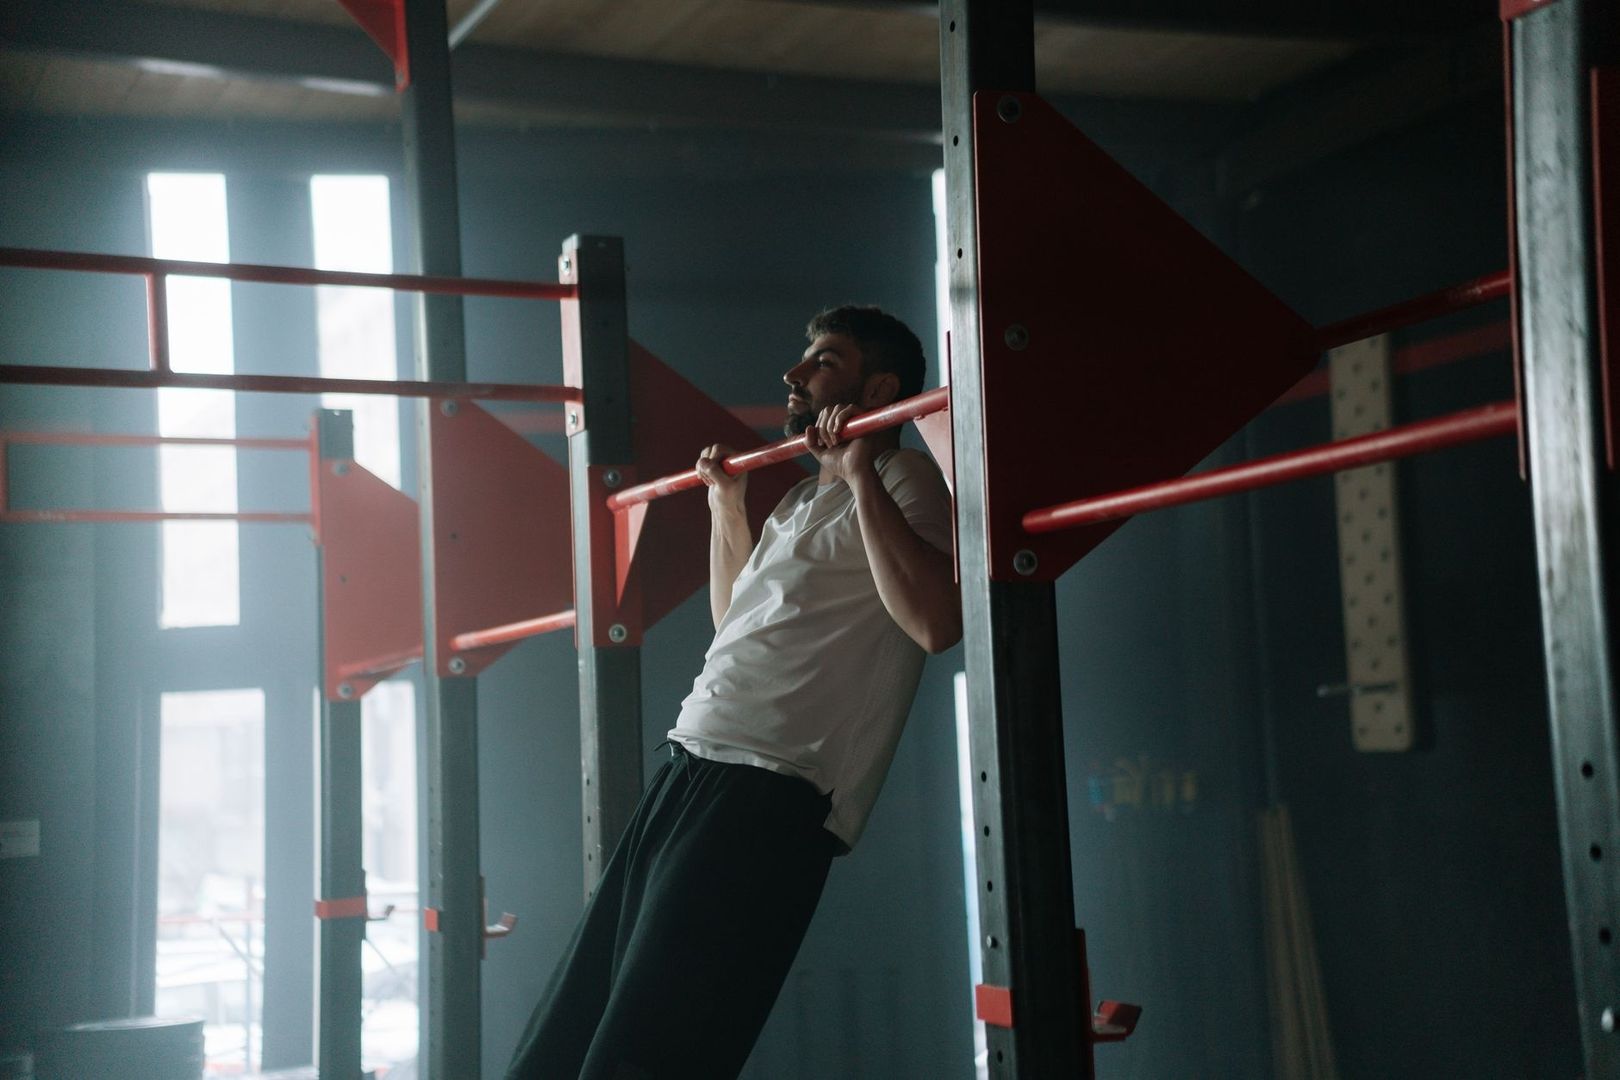
A strict pull-up distributes demand through a controlled concentric phase as the athlete pulls the body upward, followed by an eccentric phase as the athlete lowers under control. The shoulder blades remain organized, the trunk stays relatively stable, and the muscles can manage the load through a predictable range of motion. A kip changes the equation. The athlete swings between an arched position and a hollow position, then redirects that momentum into the next repetition.
That redirection creates a rapid shock-absorption problem. The rotator cuff must center the humeral head, the scapular stabilizers must guide the shoulder blade, and the long head of the biceps contributes to shoulder stability as the arm moves overhead. The labrum, joint capsule, tendons, and ligaments may also experience substantial stress when the shoulder reaches the back end of the arch or catches the body as momentum changes direction. A review of upper-extremity injuries in CrossFit athletes found that the shoulder accounts for roughly 19 to 39 percent of reported injuries, with kipping pull-ups and other high-repetition gymnastics movements among the commonly implicated exercises. The evidence base has limitations, but the pattern deserves respect. Read the full review of CrossFit upper-extremity injuries for the broader context.
Mobility determines whether the kip distributes force through the intended positions or dumps it into vulnerable structures. Limited thoracic extension, restricted shoulder flexion, and poor shoulder extension can prevent the athlete from moving the head through the arms or creating a smooth connection between the hips and the bar. Instead of a controlled arc, the athlete may force the shoulders into an aggressive end range. The result can resemble impingement, irritation, or instability rather than efficient gymnastics. Useful coaching priorities include:
- Maintain an active shoulder rather than hanging passively into the joint capsule.
- Use a grip width that permits a clean overhead path without forcing excessive shoulder rotation.
- Keep the ribs and pelvis organized so the trunk transfers force instead of leaking it.
- Build mobility gradually with controlled drills, not aggressive stretching immediately before high-volume kipping.
- Stop a set when the kip becomes a loose swing, a painful catch, or a repeated loss of body position.
Connective tissue adapts more slowly than cardiovascular fitness. A fresh athlete may complete a large set of kipping repetitions because the lungs and grip can tolerate the pace, while the tendons and joint structures are quietly accumulating stress. That is why the first signs of trouble may appear after training, during sleep, or on the next pressing day rather than during the workout itself. Kipping does not inherently ruin healthy shoulders, but poor preparation, excessive volume, and repeated movement faults can turn a useful power technique into a high-cost habit.
Non-Negotiable Benchmarks to Clear Before Leaving Strict Work Behind
Readiness is not determined by whether the chin can occasionally reach the bar. It is determined by whether the athlete can repeatedly control the shoulder and trunk through the positions that kipping amplifies. The exact standard should be individualized for body size, training age, injury history, and coaching context, but clear benchmarks provide a useful starting point. An athlete who cannot control a strict repetition has limited ability to control momentum-driven repetitions.
| Test | Practical target | Why it matters |
|---|---|---|
| Strict dead-hang pull-ups | At least 5 clean consecutive reps before regular kipping practice | Demonstrates baseline vertical pulling strength and control through the full range |
| Strict pull-up eccentric | Three to five descents lasting 5 seconds | Builds tolerance to the lowering forces that often challenge the shoulder and elbow |
| Active hang | Three sets of 20 to 30 seconds without shrugging or rib flare | Shows the athlete can stabilize the scapula under suspended bodyweight |
| Hollow body hold | 20 to 30 seconds with the lower back maintained against the floor | Confirms midline control needed to transfer force between the hips and the bar |
| Arch body hold | 20 to 30 seconds with deliberate tension rather than lumbar collapse | Develops the opposing shape used to create a controlled kip |
| Strict chest-to-bar pull-up | Several controlled repetitions, scaled as needed | Expands pulling range and reduces dependence on momentum at the top |
A passive hang is useful for grip exposure and general tolerance, but it is not the same as an active hang. In a passive hang, the shoulders may rise toward the ears while the body settles into the joint capsule. An active hang requires gentle scapular depression and retraction, a braced trunk, and continuous awareness of the shoulder position. That active engagement gives the muscles a role in stabilizing the joint rather than asking passive tissues to absorb the entire load.
Five strict pull-ups are a sensible minimum for many athletes before introducing controlled kipping work, while eight or more strict repetitions and reliable hollow and arch mechanics are a stronger starting point for butterfly progressions. These numbers are not a license to ignore quality. Every repetition should begin from a controlled hang, avoid excessive swinging, and finish without craning the neck or losing the rib-to-pelvis relationship. Bands can help develop volume, but they should supplement rather than replace the ability to perform unassisted dead-hang repetitions. Strict capacity is the foundation; the kip is the performance layer.
Four Practical Progressions for Bulletproof Scapular and Pulling Strength
Progressions should make the desired movement more understandable and more controllable. The goal is not to fatigue the shoulders with random accessory work. The goal is to strengthen the positions that protect the joint and allow force to move efficiently from the floor to the bar.
- Active bar hangs. Begin with a comfortable overhand grip and a neutral trunk. From a passive hang, pull the shoulder blades down and slightly back without bending the elbows, then return under control. Hold the active position for 5 to 10 seconds or perform small, deliberate repetitions. Keep the ribs from flaring and avoid turning the drill into a shrug. Progress by increasing hold duration, adding controlled scapular pull-ups, or placing the feet on a box for partial assistance. This work reinforces bottom-end stability, where a poorly organized kip often begins.
- Tempo eccentric lowers. Use a box or small jump to start with the chin over the bar. Lower for a counted five seconds, keeping the shoulders connected and the trunk controlled. Step back to the box rather than dropping from the bottom. Perform three to five repetitions for three or four sets, with enough rest to preserve the quality of each descent. Eccentric strength improves awareness and tendon resilience, but the elbows and shoulders still need recovery. If the final seconds become a free fall, reduce the range, use assistance, or shorten the set.
- Hollow and arch holds. Practice these shapes on the floor before asking the rig to provide feedback at speed. In the hollow position, press the lower back into the floor, keep the ribs down, and extend the limbs only as far as that contact can be maintained. A bent-knee version is often the correct starting point. For the arch position, create tension through the glutes, back, and shoulders without collapsing into the lumbar spine. Add controlled rocks only after the static shapes are reliable. Quality hollow-body practice develops whole-trunk bracing rather than isolated abdominal fatigue, as explained in this hollow body tutorial.
- Chest-to-bar inverted rows. Set a bar at a height that allows a full range of motion without losing control. Pull the chest toward the bar while keeping the body in one straight line, then lower slowly. Adjust difficulty by changing the bar height or foot position. Pause at the top to strengthen horizontal retraction, rear-deltoid engagement, and upper-back thickness. Inverted rows balance the heavy vertical pulling emphasis common in gymnastics training and help athletes feel what a strong shoulder blade position should be.
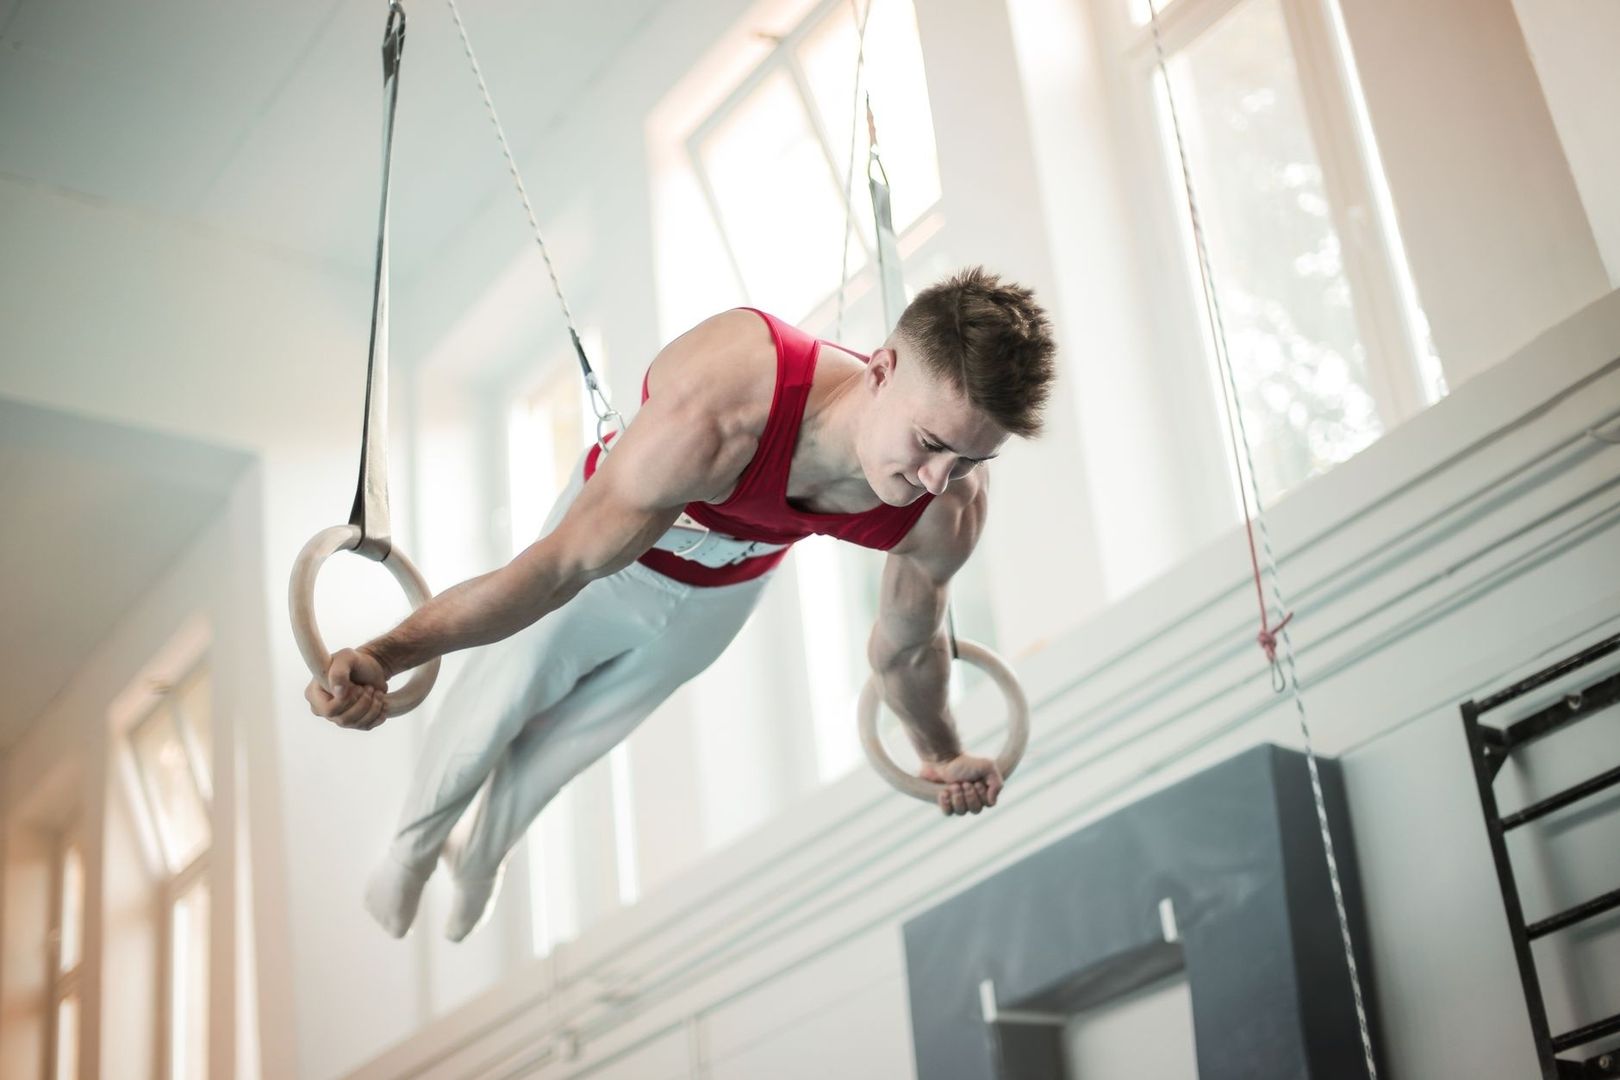
Each progression should be coached with the same standard used for a pull-up: active shoulders, controlled breathing, and no compensation that hides a weak position. Two or three movements can be paired in a short accessory circuit, but maximal effort is not required. Leave repetitions in reserve and aim for consistent practice. A shoulder that feels better after the session than before it is receiving the right training signal.
Mobility belongs in this process as well. Thoracic rotations, controlled shoulder circles, banded external rotations, and gradual overhead drills can improve access to the positions required for sound gymnastics. Mobility should be paired with strength so the athlete can own the available range. A new range that cannot be stabilized is not yet useful performance capacity.
How to Program Strict Development Alongside Metcons
Strict strength is a skill, so it should be trained when attention and coordination are available. Place it early in the session after a thorough warm-up, or use a dedicated accessory block before the metabolic conditioning begins. Avoid testing strict pull-ups immediately after a high-repetition workout that has already exhausted the grip, elbows, and shoulder stabilizers. Fatigue changes mechanics, and a movement intended to build capacity can become a practice session for compensation.
- Perform strict strength in low to moderate sets, stopping before technique deteriorates.
- Scale the workout gymnastics volume with ring rows, jumping repetitions, controlled negatives, or reduced rounds.
- Replace high-repetition kipping with strict singles or small clusters when shoulder control is the limiting factor.
- Separate hard pulling sessions by at least 48 hours when the athlete is accumulating substantial volume.
- Track soreness, grip fatigue, elbow irritation, and sleep quality rather than judging recovery only by motivation.
- Increase either intensity or volume at a time, not both during the same progression.
For example, an athlete developing strict capacity might complete five sets of three strict pull-ups, followed by three sets of controlled eccentrics, two or three times per week. In a metcon that calls for 30 kipping pull-ups, the same athlete may use 30 ring rows or 15 controlled jumping pull-ups with a slow lower. The intent of the workout can remain intact while the joints receive a manageable dose. High weekly volume, repetitive activity, prior injury, and rushed technique are recognized risk factors in the current injury literature, so smart scaling is not a reduction in ambition. It is how ambition survives long enough to produce results.
Own the Movement Before Demanding Speed From the Joint
Strict competence is the real marker of an advanced gymnastics athlete. The ability to perform a slow pull-up, hold an active hang, control a five-second negative, and maintain hollow and arch positions shows that the athlete owns the movement rather than borrowing momentum to hide a gap. That standard may feel less exciting than an unbroken set, but it creates the physical reserve that makes dynamic repetitions safer, faster, and more repeatable.
Take the next eight weeks as a focused foundation block. Test the benchmarks honestly, train strict pulling two or three times each week, practice hollow and arch mechanics, and scale metcon gymnastics before fatigue turns technique into survival. Log clean repetitions, not merely completed repetitions. The kip should eventually multiply strength that already exists, not substitute for it. Build capacity that lasts, and speed will have a stronger joint to travel through.